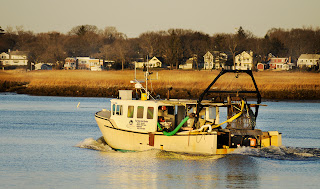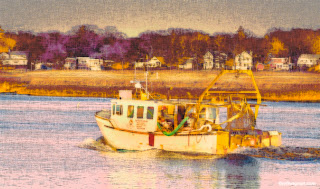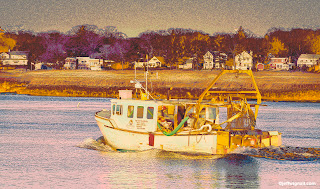


Today was a "phone day" for some reason--I had several long conversations in a row and it was a nice way to kill a Tuesday afternoon (let's hope none of my writing editors are reading this). But not being one who likes to waste time (or who can keep his paws off of Photoshop for very long) while I was talking I started doodling with a shot I took last week (of a marine repair boat on the Housatonic River near my home in Connecticut) and came up with a few variations of the original. I started both as I usually do with a quick crop and a quick curves correction (to get the tonalities close to the correct range), and then I started dipping into a few things like gradient mapping, posterization and some basic drawing filters. I really wasn't too thrilled with the original because it was a tad too warm (I shot it very late in the day) and also, parts of the boat sort of merged into a dark strip of marsh in the background.) The two variations are pretty predictable, but as I always say, the more you play in Photoshop the more avenues you explore and you can always put what you learn to work on important shots that need some creative tweaking.
Before I make any changes to a shot, I always dupe the background layer (Command J on a Mac, Control J on Windows) and then do the rest of the work on that duplicate layer. There are two reasons for this: one is so that if I don't like where I'm going with something, I can just drag the background-copy layer (and any additional layer that I don't want) to the trash but leave the original background layer alone. Then I don't have to bother re-opening the original image--it's still sitting there as the background-layer original. The other reason is that once I've got some creative work done to the dupe layer, I can experiment with layer blending modes, changing the relationship between the background layer and it's duplicate layer(s). I can also adjust the opacity between layers, further changing the relationship between the two. In fact, I often create multiple dupes of layers so that I can use blending modes and opacity adjustments between each layer.
This is all much simpler than it sounds and if you've never experimented with adjustment layers (and opacity changes), try it. Just duplicate the background layer and then, at the top of the layers palette, use the pull-down menu to try different blending modes. It's kind of hard to explain what each blend mode does, it's much simpler to just experiment and see what happens. I learned a lot about the blending modes from a workshop I took with the legendary
Ben Willmore--one of my Photoshop heroes. Ben doesn't seem to write books any more, but his older books are a treasure trove of great info and advice. Ben is a really interesting guy who lives (I kid you not) in a big classic old tour bus and travels the country shooting and teaching Photoshop. Do check out his site & blog.
In the meantime, you can't hurt your computer or your software by messing around with Photoshop and while a lot of what I come up with might be kind of artsy or trite, I find that for me, playing is the absolute best way to learn.
3 comments:
Really enjoy your posts, Jeff. Thanks.
Thanks Mike :) Really enjoy your comments, lol.
Hi Jeff,
The center one looks like an impressionist painting and I do like it. However, I am always partial to the straight picture.
Frank
Post a Comment